
How to Sharpen a Fixed Blade Knife
Aug 10th 2018
5 Steps for Sharpening Your Custom Fixed Blade Knife
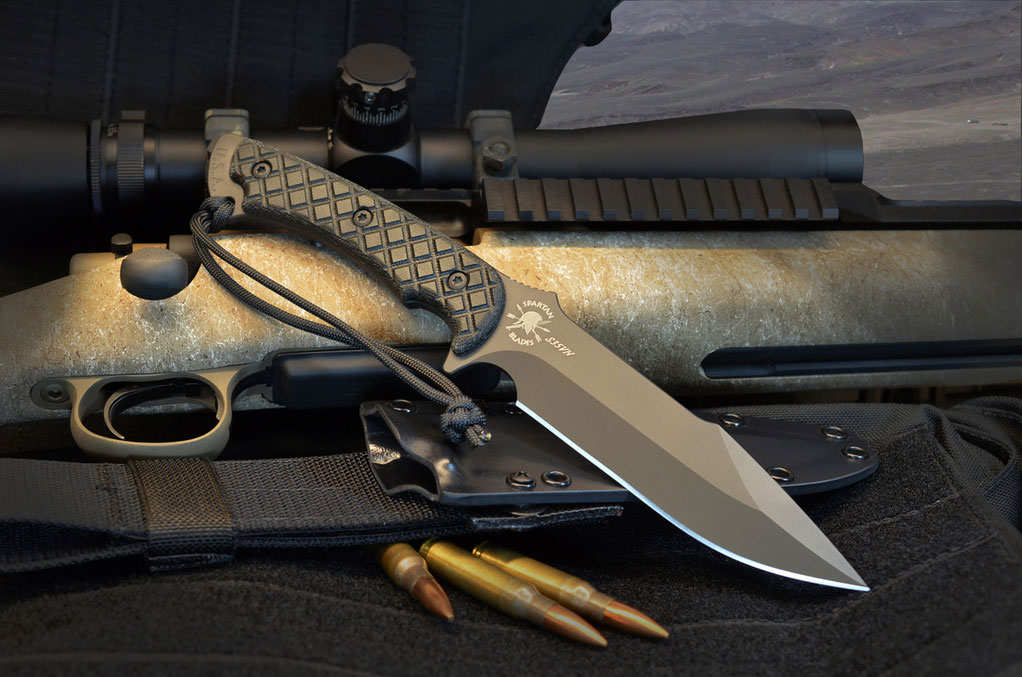
If you’re the owner of a custom fixed blade knife, you know what a joy they can be to use. Here at Spartan Blades, we pride ourselves on offering our customers a range of handcrafted fixed blades, including the Phrike and Formido self defense knives, the Hybris combat knife, and more.
But regardless of what knife you own, its performance is ultimately determined by the condition of the blade. A dull knife will simply never measure up, and attempting to use a knife that’s dull can increase the risk of serious injury. That’s why keeping your knife sharp and properly cleaned is so important.
Many knife owners are unsure of how to clean their blade. They purchase a wide array of specialized sharpening tools, with each promising to be the special all-in-one solution to keeping their knives sharp and keen. The reality, though, is that you don’t need a ton of special equipment to properly sharpen a knife. All you need is the right technique, a couple of basic tools, and a little bit of time to set aside for the task.
Are you looking to learn how to sharpen your custom fixed blade knife? If so, you’ve come to the right place. We’ve put together this quick and simple guide on how to sharpen your fixed blade knife in 5 easy steps. Keep reading to learn more.
Step 1: Use the Right Diamond or Ceramic Sharpening Tool
First off, understand that some knives require special sharpening tools. While a conventional whetstone may work for many knives, the steel used for Spartan Blades knives is actually too strong for your typical whetstone. Attempting to sharpen a Spartan Blades fixed blade knife with a standard whetstone will actually cut the whetstone itself, because the steel we use for our knives is harder than the whetstone material.
For this reason, we recommend using a diamond or ceramic bench stone for sharpening our fixed blade knives. The sharpening tools offered by DMT, Lansky, and Wicked Edge are all excellent options.
When choosing a diamond or ceramic bench stone for your fixed blade knife, it’s important to pay close attention to the grit of the stone itself. Different grits correspond to different sharpening tasks, and using the wrong grit can actually be counterproductive to your end goal of having a sharp, ready to use blade.
Generally speaking, the duller and more damaged your blade is, the lower the grit you’ll want to start with. If your blade has serious burrs, chips, or an extremely dull edge, you may need to put a new edge on the blade using a very low grit whetstone, such as a 200 grit. For blade that are fairly dull but otherwise undamaged, a coarser sub-1,000 grit (such as 600-700) is advised. And if your blade is in good shape, fairly sharp, and simply needs to be honed a little, you can jump right to a soft stone with a grit of 1,000 or more.
Step 2: Prepare Your Sharpening Stone
Once you’ve got the right stones ready to go, you’ll need to prepare them for use. Using a dry bench stone can damage your blade, and you’ll find that you’re unable to achieve a smooth, sharp edge. Apply some water to the stone, and give it a couple of minutes to thoroughly penetrate the stone in preparation for sharpening.
Step 3: Get the Angle and Begin to Sharpen
Before going any further, we advise putting on a pair of protective sharpening gloves.
To sharpen your knife, you’ll want to get the right angle. Start by laying your blade flat on its side on the whetstone. Now, begin to raise the blade upwards (as though you were preparing to cut the whetstone with the long edge of the blade) until you feel the whetstone meet the natural angle of the knife. This is usually somewhere around 20 degrees, although it can be more or less depending on the specific knife that you’re sharpening.
Once you have the right angle, it’s time to start sharpening. With the blade at the right angle, push the blade away from you and along the whetstone. At the same time, pull the blade in the direction of the handle. Don’t use too much pressure: imagine that you’re trying to shave off a very thin slice of the stone as you go. Keep an eye on the curve of your blade. If your knife has a curved tip, rotate the knife slightly as you pull it across the whetstone in order to ensure that the tip is sharpened.
Push the knife away from you and drag it across the whetstone in the manner described five times, keeping the knife on the same side each time.
Step 4: Sharpen the Other Side
Once one side of the blade has been sharpened, it’s time to flip it over and repeat the process on the other side. Be sure to find the same angle and use the same amount of pressure. Remember to push the knife away from you, draw it across the whetstone at an angle, and rotate it as needed to ensure that the tip is evenly sharpened.
Step 5: Check, Test, and Repeat
Once you’ve sharpened both sides of your knife, examine the blade. Remove any burrs that have been produced, taking care to use a thick cloth or protective gloves. If you were starting with a low grit whetstone, you’ll likely want to continue to a finer grit and repeat the process above. If you don’t see any changes in your knife’s edge, you can repeat five strokes per side with the same grit whetstone and check it again afterwards. Once you’ve completed the above steps with a high grit whetstone, consider testing your knife to check for sharpness. If it cuts cleanly, evenly, and easily, you’re done! Now all you need to do is clean your custom fixed blade knife to prepare it for storage.
Spartan Blades Handcrafted Fixed Blade Knives
Now that you know how to keep your knife sharp, why not add another fixed blade knife to your collection? Browse our catalogue of custom knives here.