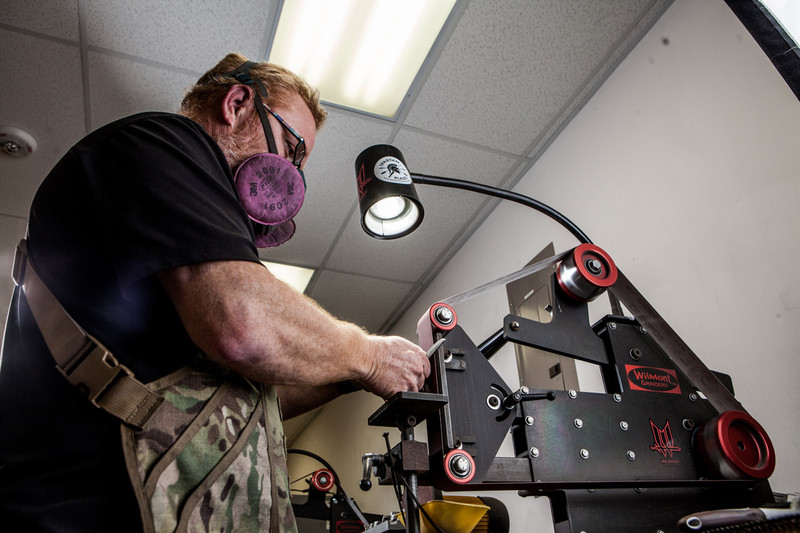
Like any other skill, sharpening a knife takes a great deal of practice, as well as patience to master. There are some who naturally gravitate towards this type of activity, and there are others who have no patience nor have the mechanical affinity to master such an activity. For those who wish to learn sharpening, I have some tips to pass along to you here in this two part series. Anyone starting out to learn sharpening will have a lot of questions to ask and that is just fine, hopefully this material presented here will answer the majority of them that you have. With that being said, let’s get started with discussing the basics of sharpening.
Regardless of what blade steel your knives are made from, they all will get dull. Some steels hold an edge longer than others, which explains the multitude of steel grades on the production knife market now. You also have to remember that the more edge holding power a steel has, the harder it will be to resharpen. For instance, S30V will hold an edge really well but, it is difficult to resharpen than, say, AUS-8 or 440A. S35VN and CPM-20Cv also hold an edge but are easier to resharpen than S30V but still, not as easy as AUS-8 or 440A due to the elements makeup of the steel. Also the grade of steel will also dictate what type of sharpener you will use, and this will be covered in depth later. But getting back to blade steel eventually going dull - it’s just a dynamic of steel. So, hence the need for resharpening at the proper time.
Diamond Hone sharpeners are recommended for sharpening steels that boast edge retention. DMT makes several that do a fine job on High end steel grades.
Question here is, how exactly do you know when to resharpen? When is a blade truly dull? There are a few ways to determine if a blade needs resharpening. First, the tomato test. Take a tomato and slice it up. If the blade squashes the fruit as you attempt to slice into it, then it is dull. A properly sharpened blade will break through the semi-firm skin of the tomato and cut with precision all the way through. Second is the hanging paper slice. Take a sheet of paper - could be copy paper, notebook paper, or even a page from a newspaper circular. Hold one corner of it out in front of you and with your other hand that has the knife held in it - attempt to make the edge bite into the end of the paper and slice all the way through. If it can’t bite into the edge of the paper it definitely isn’t going to cut all the way through. A properly sharpened blade will bite easily into the edge and sail all the way through the paper with little effort required. Then there is something called the thumbnail test. This needs to be done very carefully. Take the edge of the knife and lay it across your thumbnail and push very gently. If the blade wants to slide on the thumbnail, it’s dull. A properly sharpened blade will bite into the surface of your nail enough to hold it in place and not slide.
If you look at the cross section of a properly sharpened blade, you’ll note the cutting edge bevel forms a “V”. The very point of the “V” is where it is sharp. As the blade is used, cutting food or meat on a plate or cutting board, what happens is the pressure naturally applied to the blade to facilitate the cutting process will carry the blade through till it meets resistance (which is the cutting surface). All that pressure coming down on that one little point in the “V”, will cause the point in the “V” to flatten out a bit. Over time, that area will get even flatter and now, you have a dull blade. When you resharpen your blade, you’re in essence restoring that true “V” shape again. If you choose to use a benchstone, or a sharpening angle guide kit or a motorized abrasive belt sharpener - all you are doing is restoring that “V” shape.
OK, now that we have determined our blade is dull, thus begins the process of sharpening. If you notice, the cutting edge bevels on your blade are ground on at an angle. We first have to determine what that angle is. Basically, the more consistent you hold that angle the more true the “V” shape is and thus, sharpening the blade. Let’s say we’re going to resharpen a fixed blade hunting knife on a bench stone. How can we be sure we hold that angle consistently? I would use what is called the Sharpie marker trick. Take a black ink Sharpie or other permanent marker (I find chisel tip permanent markers work best for this due to the width of the tip) and carefully color in the entire cutting edge bevel, on both sides of the blade. The marker ink will act as a visual guide through the sharpening process. Hold the blade at an angle in relation to the stone and take a pass. Stop, and turn the blade over in the light and see where the marker ink has been removed, then you can adjust your angle accordingly then make another pass. The name of the game here is sharpen off all the marker ink and you would have held the angle as consistently as possible. As a general rule, hunting and tactical knives have cutting edges ground on the blade as a 22 degree angle. Kitchen knives use 18 or 20 degree.
Remember, the key here is to hold your cutting edge angle as consistent as possible for best results. When people learn to sharpen on a bench stone and they complain the blade isn’t sharp - chances are good they are all over the place angle wise and not really forming a true “V” shaped edge. This is where the patience thing comes into play. With any sharpener or sharpening system that you use, it will take time to learn how to properly and safely use the equipment. No sense in rushing it or even getting frustrated during the process. Expect mistakes to be made and this is why I strongly recommend purchasing cheap knives - like those found at gun shows, hardware stores, or flea markets for a few bucks each. It’s best to learn and make mistakes on these knives rather than your $200 folding knife! If you get frustrated...stop immediately and take a break. I will have to say sharpening is a dangerous activity and if you are not careful you can end up injuring yourself and that no doubt will add to the frustration.
Finally, I want to touch on something that is very important that not too many people really think about. Setting up a dedicated space for you to do your sharpening work. You don’t want to sharpen in a room where your family or kids congregate. Kids running around and jumping, or even your cats jumping up onto the table to see what it is you are doing. I would also choose a spot that has plentiful natural and/or artificial lighting. Being able to see well is key not only to getting a sharp edge but also maintaining personal safety. It’s also a great idea to have a first aid kit within reach as well just in case you might have an accident. Don’t tell me that you’ve been sharpening knives for many years and have experience. I have many years of sharpening under my belt and I will tell you, accidental cuts WILL happen and they will happen to the best of us even. Usually these types of accidents result from being careless for even one second during the process. Thus, underscores the need not only for ample ambient lighting but you need to be focused 110% on the task at hand. .
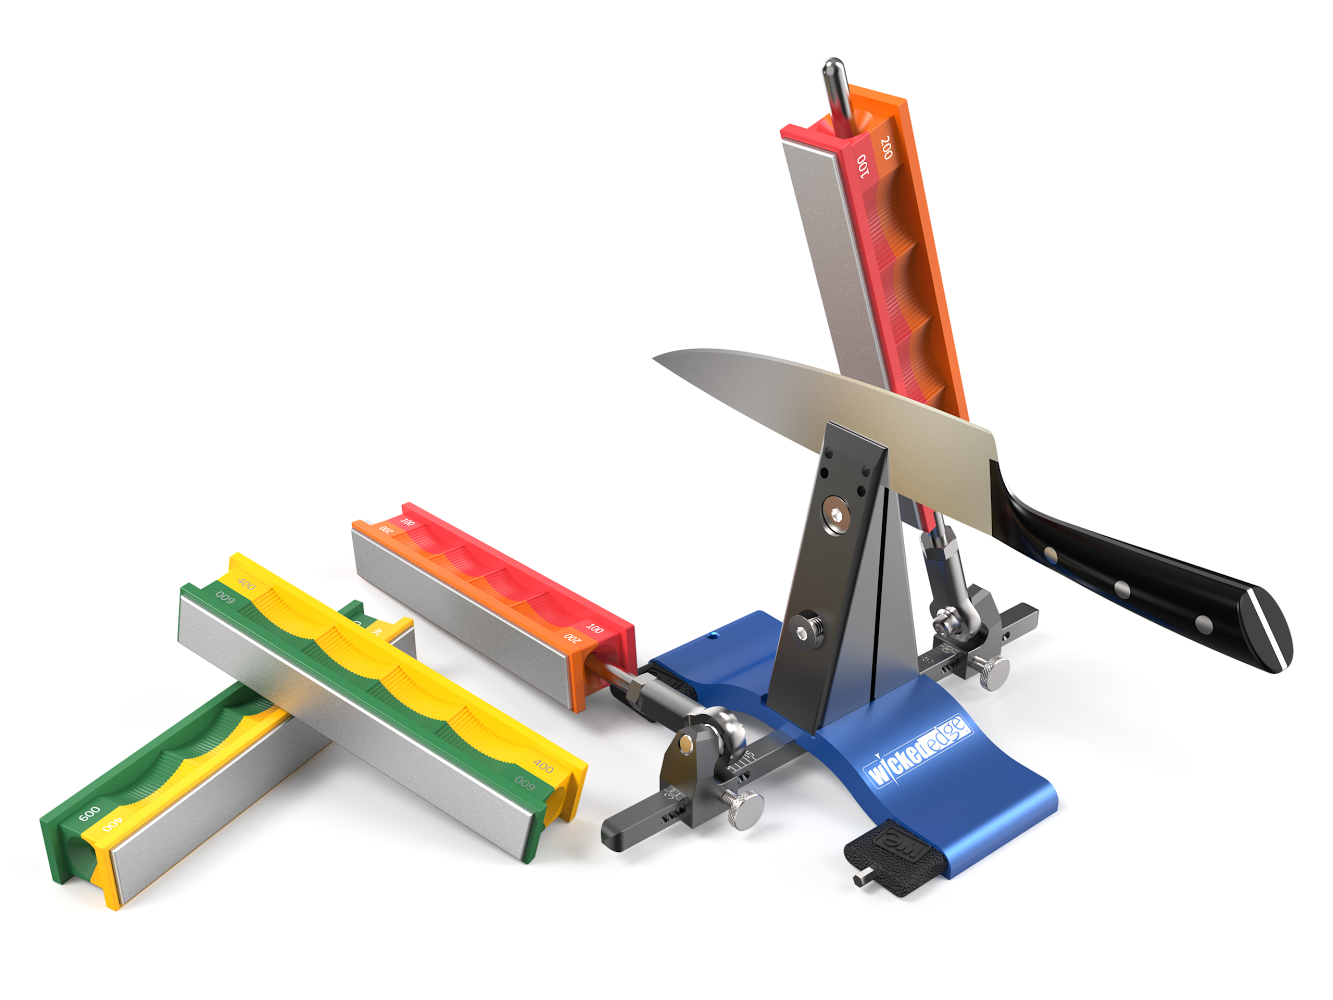
Remember, hold your cutting edge angle as consistent as possible for best results. The Wicked Edge is specifically designed for this task.
So there you have it, some basics to remember when you start out sharpening your own knives. In Part II, we will look more specifically at choosing the correct sharpener for your needs and budget. Please, please remember that learning to sharpen will only take time and that you have to expect mistakes to be made. And please, use common sense as well. Never sharpen when you are tired, or have been drinking, or not in the “right frame of mind” to concentrate. Have plenty of patience. Use your brain and be safe. Most importantly - have fun learning a new skill that not everyone knows how to do!


